Pages

Monday, June 6, 2011

Fabric Sewing Equipment Roll

A fabric roll-up case to put your sewing equipment, keeping it safe for transport and storing! Can be made to store other equipment such as paintbrushes, crayons, makeup brushes or stationary!

Step 1

Mark out a 50cm x 50cm square on your choice of outer and lining fabric. Cut out.

To mark out you can use pins, make a pattern from paper or use tailors chalk (always do this on wrong side of fabric).

Step 2

Lay outer fabric square right side up onto fusible interfacing (shiny side up), pin and cut out. Carefully fuse interfacing to outer fabric with a warm iron (too hot can melt the interfacing). Make sure wrong side of fabric is facing shiny side of interfacing.

Step 3

Lay lining fabric on outer fabric, right sides together. Pin edges, marking a 20-30cm gap down one side (this is required to turn the fabric through the right way). Sew the squares together with a 1cm seam allowance, make sure to not sew over gap you marked out.

Step 4

Clip all 4 corners close to, but not through, the stitching line. Turn fabric right way around, through the gap from step 3. Gently smooth corners out fully, and iron the seams flat, making sure to fold the open gap in evenly as you iron it.

Step 5

Once caddy has been ironed flat, sew a topstitch approx. 5mm from the edge, all the way around (this will close the gap used to turn fabric through in step 4).

Step 6

With lining facing up, fold 1/3 (approx 16cm) of the caddy square up. Pin in place, and sew sides down, using the topstitch line as a guide.

Step 7

Lay out the equipment to be stored in the caddy, allowing space for items to fit properly. Using pins, mark out around the items where the stitching lines will go to make the separate pockets. For shorter items, also mark along the bottom of the pockets. Carefully sew along marked stitch lines.

Step 8

Measure and cut ribbon into lengths required to tie items such as scissors in place, then pin into place where required. Also cut and pin ribbon for outside tie on caddy (approx 30cm). Sew ribbon in place using vertical stitches and backtracking to hold firm.

Now place your sewing equipment in its new home, rollup, tie the ribbon, and off you go!!

Tuesday, May 17, 2011

Doin' it for the Kids...


This week I've been having fun with these gorgeous girls dresses, made just in time for the
Twilight Markets held along the Victoria Parade Esplanade on Thursday Island,
this Saturday, 6-9pm for those who can make it!

Also the TI Community Sewing Group has hit off its first sewing session last Saturday,
with attendees enjoying creating their first project - a fabric caddy/carrier for all their
sewing equipment!
For those following along at home, I'll have this project, and others we do, up on the
blog on a weekly basis - so keep an eye out! And happy sewing!

Friday, March 11, 2011

A time for reflection...

With another day of markets coming up (tomorrow, for those who can make it!), I felt like looking back at my marketeering progress over the past 3 years...

2008 - started small... 2009 - a focus on tropical prints

2009 - at Horn Island 2010 - expanding! note my lovely, shiny new clothes rack!

And what will 2011 bring? here's a peek at what to expect for tomorrow...


I've been busy making these lovely vintage fabric blouses and shirt-dresses. For those who can't make it to the markets, have a look at my etsy or madeit stores...

Also available at tomorrows PKA Mini Market (TI) at my stall is the beautiful, natural, handmade hemp fibre Jewelry by the talented Cass Gordon!

Thursday, March 3, 2011

Big Girls Blouse...

As requested, I have been spending the past week or so creating shirt styles for my Lady customers. Along with this lovely relaxed fit, tie waist blouse are several variations on my basic shirt dress pattern, all in softly ladylike vintage florals...

And this is just the beginning, as the shirtdress is such a versatile style to mix and personalise, expect to see a lot more of them coming out of my studio door!

In other news...
It would seem that I am on the verge of facilitating a series of sewing classes on Thursday Island, so keep your eyes on the notices around town, and come by my stall on Saturday March 12 for more details!
For those unable to drop by due to my remote location, keep an eye on this blog as I'll be posting all sewing tutorial projects for you to follow along at home! All I ask is that I get to see piccies of your results...

Tuesday, February 15, 2011

Nothing says Summer like...

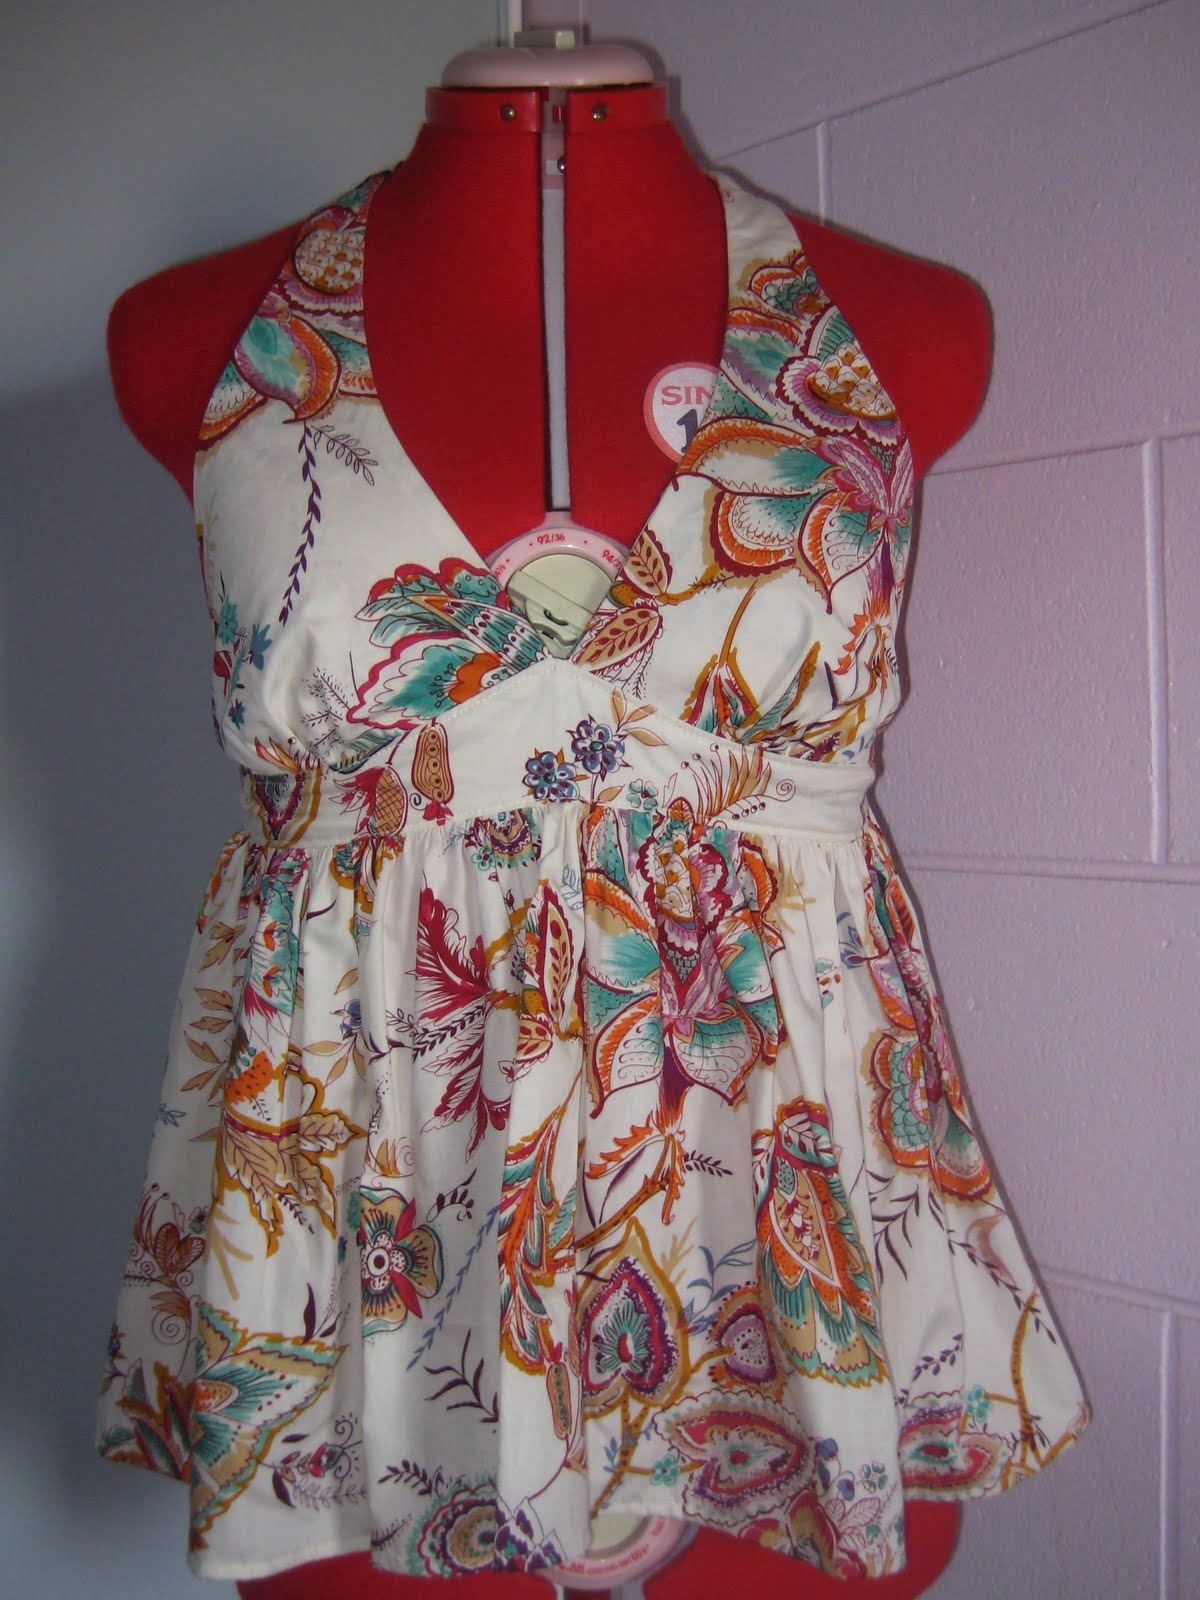
... A floaty bright cotton halter neck!


...while away your summer days in comfort and style...


Made from vintage and retro lightweight cottons, this range of tie halter necks will be up on my etsy and madeit stores throughout this week!

I can also do up custom orders if you require a different fabric or different size...

Wednesday, February 9, 2011

Feelin' Shirty


Firstly, don't you just love the retro wall hook used in the pics to hang the shirts from? A lovely and thoughtful christmas gift from my husband!

These shirts were made as work shirts for the lovely Sariba, who runs the hospital kiosk on TI. I love that people up here prefer florals and colours to the basic blacks/greys so common in other areas - makes for more fun ensemble admiring :)

fabric 1 - vintage seekers print from the 1970's
fabric 2 & 3 - courtesy of spotlight :)

Monday, February 7, 2011

Evie

Here are another couple of dresses i've just finished for a client/friend...


I bought these fabrics from good 'ole spotlight, and am so pleased with the designs chosen to display them to the world!

The TI Valentines Day markets are coming up this weekend, and I'm undecided whether I should go - if I work really hard this week I can have a bunch of new stuff to sell, which would make me want to go...opinions anyone?

On another note, I'll be updating my etsy store shortly, and have recently opened a madeit store too! www.madeit.com.au/alisonsarah